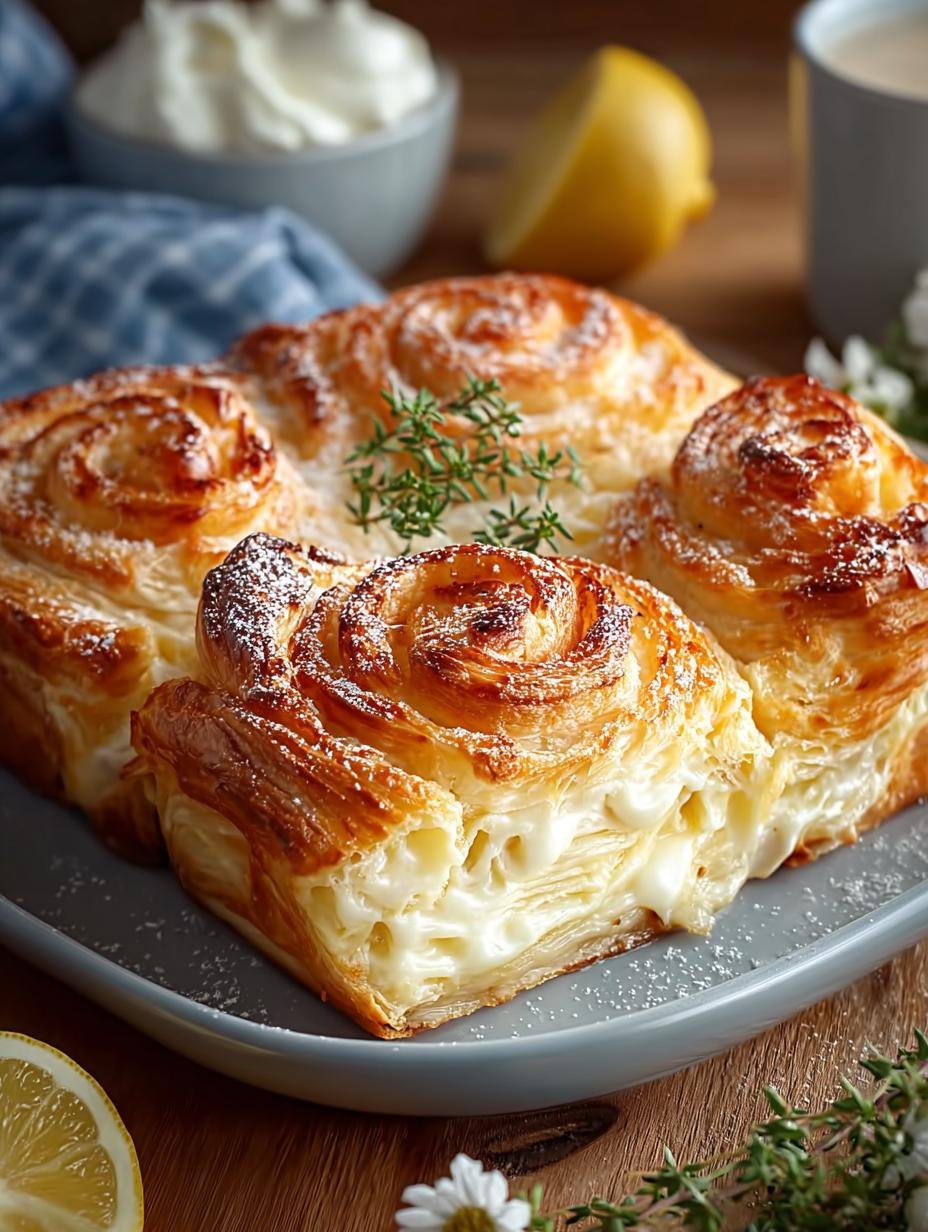
Danish is a delightful pastry that has become a beloved breakfast staple. This irresistible Homemade Danish recipe features a creamy filling bliss that elevates your morning experience. With its flaky layers and rich flavors, this pastry is not just food; it’s an experience that embodies the essence of Danish culture. Let’s dive into how to create this culinary masterpiece!
Why You’ll Love This Danish
This Danish recipe will soon become a favorite for many reasons. First, it’s incredibly delicious and offers a satisfying combination of flaky pastry and creamy filling. Second, it’s easy to prepare, making it perfect for busy mornings. The Danish pastry can be customized with various fillings, allowing for creativity in the kitchen. Not only does it taste fantastic, but it also looks beautiful, making it a great choice for brunch or special occasions. Plus, learning how to make this pastry can enhance your cooking skills and introduce you to Danish cuisine. The time spent making this dish will be worth it when you see the smiles on your family’s faces!
Ingredients for Danish
Gather these items:
- 2 cups all-purpose flour (Use gluten-free flour for a gluten-free version.)
- 1 tablespoon granulated sugar (Substitute with coconut sugar for a lower glycemic option.)
- 1/2 teaspoon salt (Enhances flavor.)
- 2 teaspoons active dry yeast (Can substitute with instant yeast.)
- 3/4 cup whole milk (Use almond or oat milk for a dairy-free version.)
- 1 large egg (Replace with a flax egg for a vegan option.)
- 1/2 cup cold unsalted butter (Ghee can be a great lactose-free alternative.)
- 8 ounces cream cheese (Mascarpone or ricotta can create a lighter variation.)
- 1/2 cup powdered sugar (Erythritol makes a sugar-free substitute.)
- 1 teaspoon vanilla extract (Consider using almond extract for a twist.)
- 1 tablespoon lemon juice (Lime juice can be used for a different flavor.)
- 1/4 teaspoon salt (Just a pinch enhances flavors.)
- 1 cup powdered sugar (Use confectioners’ sugar for an even finish.)
- 2 tablespoons milk or lemon juice (Try orange juice for a twist.)
How to Make Danish Step-by-Step
- Step 1: Preheat your oven to 400°F (200°C) and line a baking sheet with parchment paper.
- Step 2: Prepare the cream cheese filling by combining softened cream cheese, powdered sugar, lemon juice, vanilla extract, salt, and the egg yolk in a mixing bowl. Beat until smooth and creamy.
- Step 3: Roll out the thawed puff pastry on a lightly floured surface. Cut into 3×4 inch rectangles.
- Step 4: Form the pastries by folding the edges inward or scoring a border. Spoon the cream cheese mixture into the center of each pastry.
- Step 5: Brush the edges of your pastries with an egg wash.
- Step 6: Bake the pastries for 15-18 minutes until puffed and golden brown.
- Step 7: Cool the pastries on a wire rack for a few minutes before preparing the glaze.
- Step 8: Drizzle the glaze over the pastries before serving.
Pro Tips for the Perfect Danish
Keep these in mind:
- Ensure your butter is cold to achieve the best flaky texture.
- Don’t skip the chilling time for the dough if you want perfectly puffed pastries.
- Experiment with different fillings, such as fruit jams or chocolate, to add variety.
- Use parchment paper to avoid sticking and ensure easy cleanup.
Best Ways to Serve Danish
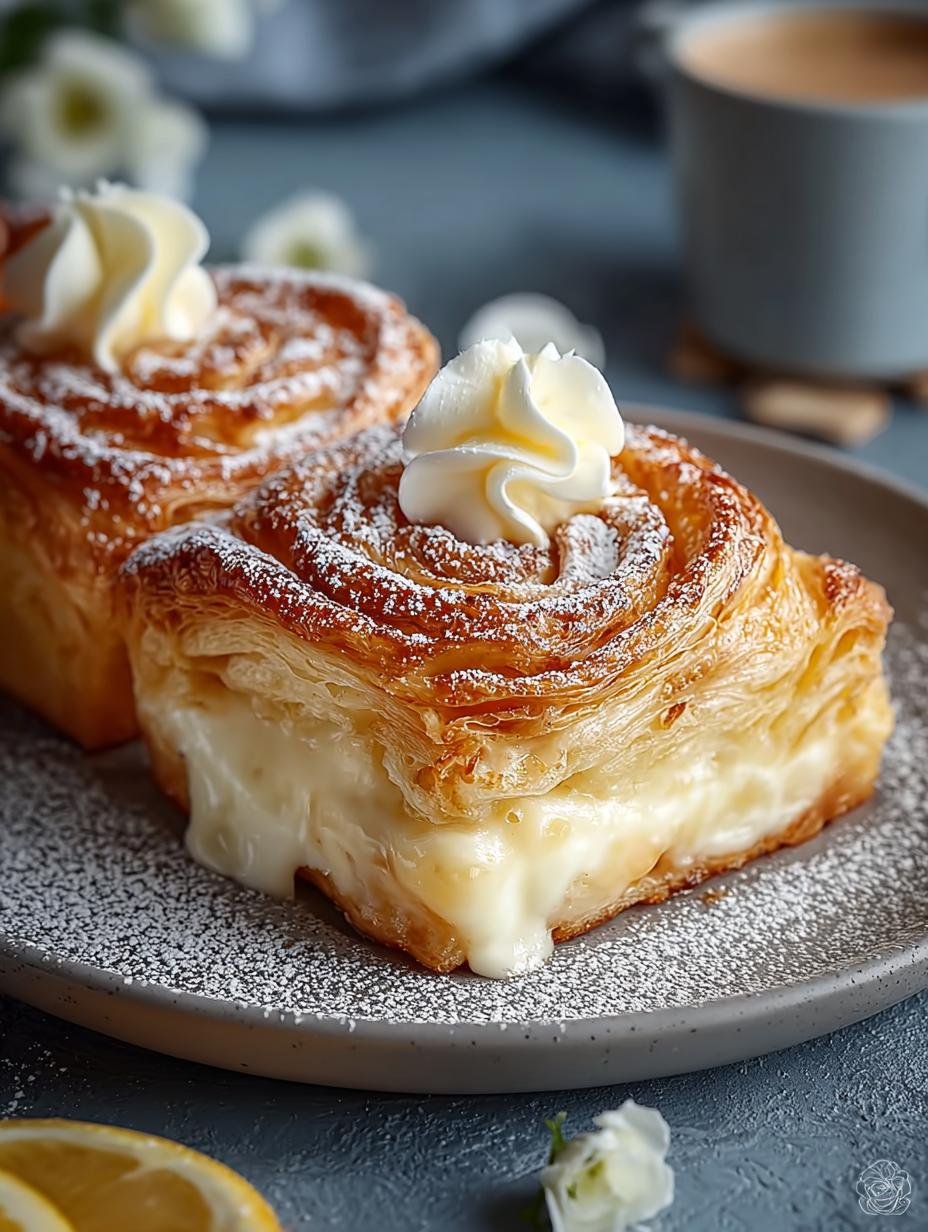
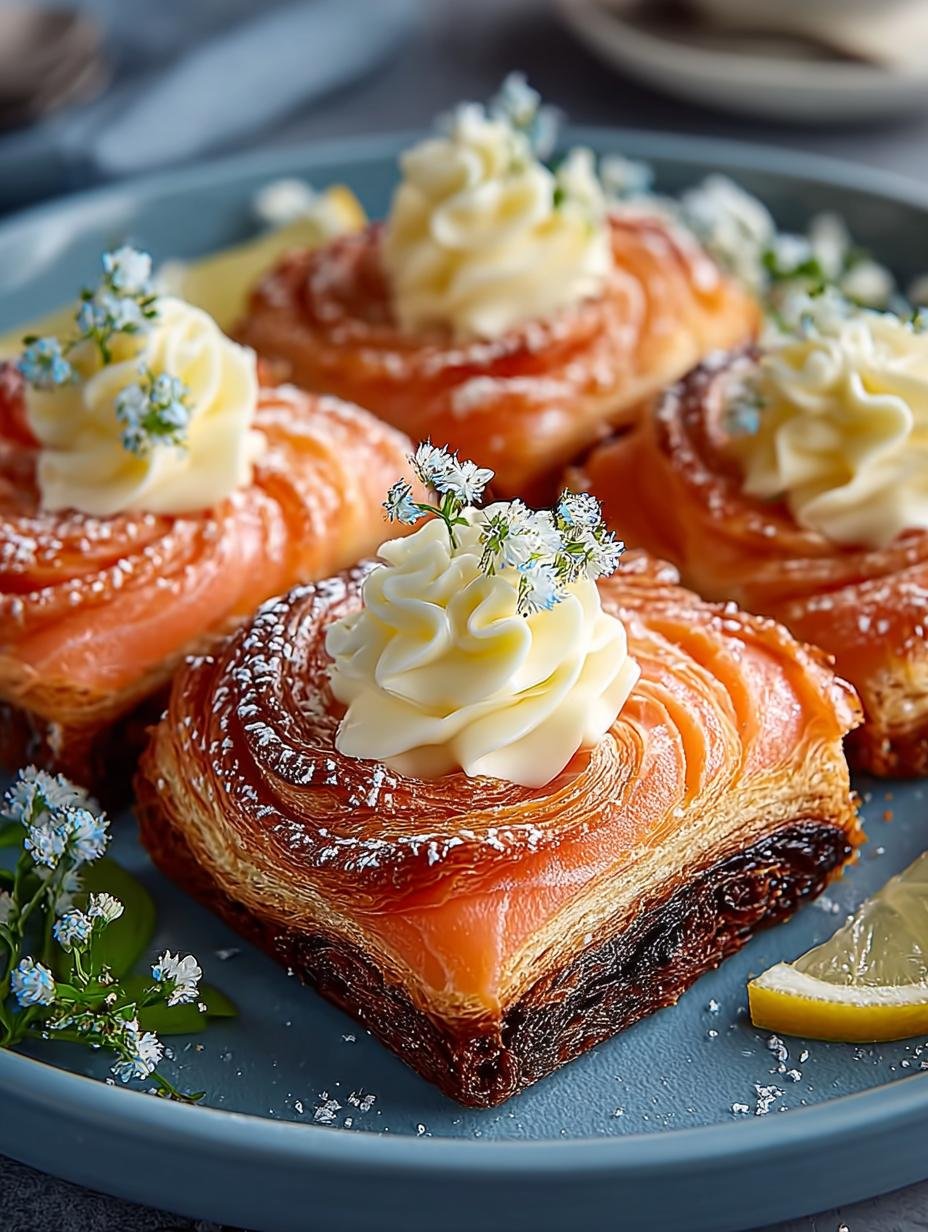
These pastries are best served warm, fresh from the oven. Pair them with a cup of coffee or hot chocolate for a perfect breakfast experience. You can also serve them with fresh fruits like berries or a drizzle of honey for added sweetness. Consider presenting them on a beautiful platter to showcase your Danish design aesthetic at your next gathering.
How to Store and Reheat Danish
Store any leftover pastries in an airtight container at room temperature for up to 2 days. To reheat, simply pop them in a preheated oven at 350°F (175°C) for about 5-10 minutes until warmed through. This will help retain their flaky texture. Making extra Danish pastries can also be a great meal prep option for busy mornings!
Frequently Asked Questions About Danish
What’s the secret to perfect Danish?
The secret to a perfect Danish lies in using cold ingredients, especially butter, and not overworking the dough. This helps maintain the flakiness that is characteristic of Danish pastries.
Can I make Danish ahead of time?
Yes, you can prepare the dough and filling ahead of time, storing them separately in the refrigerator. Assemble and bake them fresh when you’re ready to serve. This is a great way to enjoy them warm.
How do I avoid common mistakes with Danish?
To avoid common mistakes, ensure that your ingredients are at the right temperature, and don’t skip the resting periods for the dough. This ensures a lighter, flakier pastry.
Variations of Danish You Can Try
Feel free to experiment with these ideas:
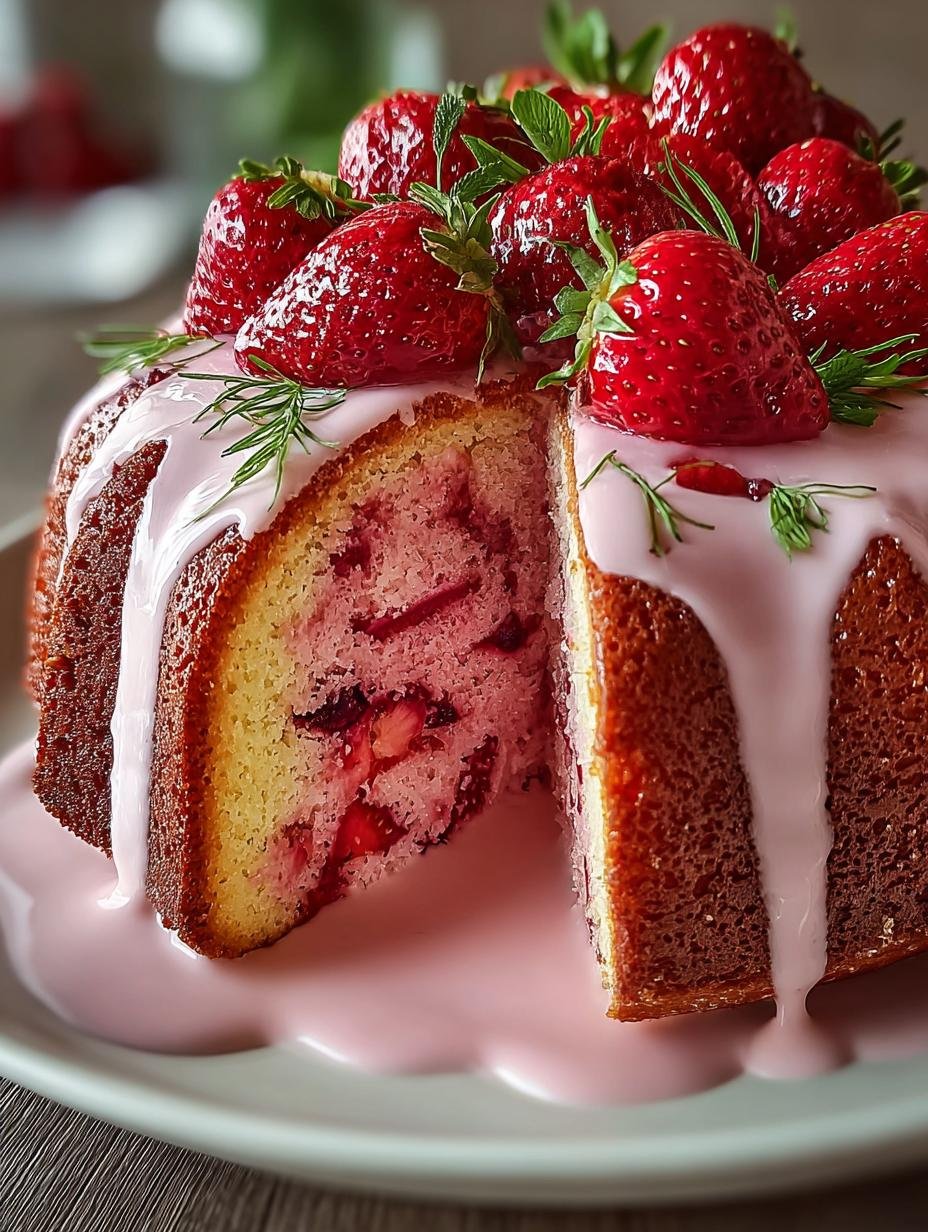
1. **Fruit-filled Danish:** Add fresh fruits like blueberries or strawberries to the filling.
2. **Nut and chocolate Danish:** Incorporate hazelnuts or chocolate chips for a richer flavor.
3. **Savory Danish:** Substitute cream cheese with ricotta and add spinach or herbs for a unique twist.
These variations can cater to different tastes and Danish customs and traditions.

Irresistible Danish with Creamy Filling Bliss
- Total Time: 43 minutes
- Yield: 12 pastries 1x
- Diet: Vegetarian
Description
Enjoy the delightful layers of this Homemade Danish recipe, featuring a creamy filling bliss that elevates your breakfast experience.
Ingredients
- 2 cups all-purpose flour (Use gluten-free flour for a gluten-free version.)
- 1 tablespoon granulated sugar (Substitute with coconut sugar for a lower glycemic option.)
- 1/2 teaspoon salt (Enhances flavor.)
- 2 teaspoons active dry yeast (Can substitute with instant yeast.)
- 3/4 cup whole milk (Use almond or oat milk for a dairy-free version.)
- 1 large egg (Replace with a flax egg for a vegan option.)
- 1/2 cup cold unsalted butter (Ghee can be a great lactose-free alternative.)
- 8 ounces cream cheese (Mascarpone or ricotta can create a lighter variation.)
- 1/2 cup powdered sugar (Erythritol makes a sugar-free substitute.)
- 1 teaspoon vanilla extract (Consider using almond extract for a twist.)
- 1 tablespoon lemon juice (Lime juice can be used for a different flavor.)
- 1/4 teaspoon salt (Just a pinch enhances flavors.)
- 1 cup powdered sugar (Use confectioners’ sugar for an even finish.)
- 2 tablespoons milk or lemon juice (Try orange juice for a twist.)
Instructions
- Preheat your oven to 400°F (200°C) and line a baking sheet with parchment paper.
- Prepare the cream cheese filling by combining softened cream cheese, powdered sugar, lemon juice, vanilla extract, salt, and the egg yolk in a mixing bowl. Beat until smooth and creamy.
- Roll out the thawed puff pastry on a lightly floured surface. Cut into 3×4 inch rectangles.
- Form the pastries by folding the edges inward or scoring a border. Spoon the cream cheese mixture into the center of each pastry.
- Brush the edges of your pastries with an egg wash.
- Bake the pastries for 15-18 minutes until puffed and golden brown.
- Cool the pastries on a wire rack for a few minutes before preparing the glaze.
- Drizzle the glaze over the pastries before serving.
Notes
- Prep Time: 25 minutes
- Cook Time: 18 minutes
- Category: Breakfast
- Method: Baking
- Cuisine: Danish
Nutrition
- Serving Size: 1 pastry
- Calories: 210
- Sugar: 5 g
- Sodium: 150 mg
- Fat: 10 g
- Saturated Fat: 6 g
- Unsaturated Fat: 4 g
- Trans Fat: 0 g
- Carbohydrates: 25 g
- Fiber: 1 g
- Protein: 3 g
- Cholesterol: 30 mg


Leave a Reply